Introduction
Every time I turn on the kitchen light and see that greasy range hood, I feel a wave of frustration. As a young professional who just started working and living in this small studio apartment, the kitchen is my daily battleground for sustenance. However, that wall-mounted range hood has become my biggest concern. Every time I see that layer of shiny grease on its surface, I can't help but want to avoid it.
Honestly, who doesn't want a clean and tidy kitchen? But under the pressure of 996 work schedules, I'm already exhausted like a salted fish when I get home, with no energy left for housework. However, after these years of living alone, I've finally found a time and energy-efficient cleaning method, which I'd like to share with everyone today.
Shocking Discovery
One weekend last month, I finally had time to properly clean the kitchen. While standing on a small stool preparing to wipe the walls, I was startled by the condition of the range hood. Goodness! I hadn't cleaned it for three whole months! Mind you, I'm usually very particular about personal hygiene - the type who changes socks daily.
When I lightly ran my finger across the range hood's surface, the feeling made my skin crawl. The grease was so thick it could be scraped off, black as if it were hotpot base that had been simmering for three days and nights (don't ask me how I know, it's just an analogy). At that moment, I finally realized the severity of the situation and decided to tackle this "grease monster."

Hidden Dangers
Actually, the dangers of not cleaning your range hood regularly are far more serious than we imagine. According to the latest 2023 survey data from China's Center for Disease Control and Prevention, families with poorly maintained range hoods face a 35% higher risk of respiratory diseases. This statistic is no joke - the cooking fumes we create daily, if not properly handled, will continuously accumulate harmful substances in indoor air.
Even more alarming is that uncleaned range hoods are particularly prone to causing fires. There are thousands of fire accidents each year due to accumulated grease in range hoods. Think about it - when grease buildup in the range hood is exposed to high temperatures, it can easily ignite. Just the thought of it is frightening, especially for young renters like us. A fire not only threatens our lives but could also lead to hefty compensation costs.
Cleaning Arsenal
After repeated experiments and multiple attempts this month, I've finally summarized a simple and effective cleaning method. This method is truly tailored for busy office workers like us - it's absolutely a blessing for lazy people.
First, we need to prepare some cleaning tools and materials. Don't worry, these items can mostly be found at home, and even if you need to buy them, they won't cost much:
Prepare a basin of hot water, hot enough but not scalding. Then you'll need degreasing cleaner - if you don't have specialized cleaner, regular dish soap can substitute. I personally recommend Mr Muscle kitchen cleaner, which works quite well.
Baking soda is essential - it's truly a cleaning miracle worker. I remember being amazed the first time I used baking soda for cleaning. You'll also need several cleaning cloths, preferably microfiber ones, as they work particularly well. Finally, get a large basin, big enough to completely submerge the range hood filter.
Detailed Steps
Disassembly Preparation
The first step is removing the range hood filter. Honestly, I was a bit scared the first time I did this, worried I might break the range hood. But it's actually very simple - most range hood filters use a clip-on system and can be easily removed with a gentle push.
However, before starting, I strongly recommend wearing disposable gloves. I once naively thought I could do it bare-handed, but that experience was memorable - it took half an hour of washing and nearly half a bottle of hand soap to remove the greasy feeling. Plus, wearing gloves not only protects your hands but also gives you more confidence in handling those greasy parts.
Soaking Process
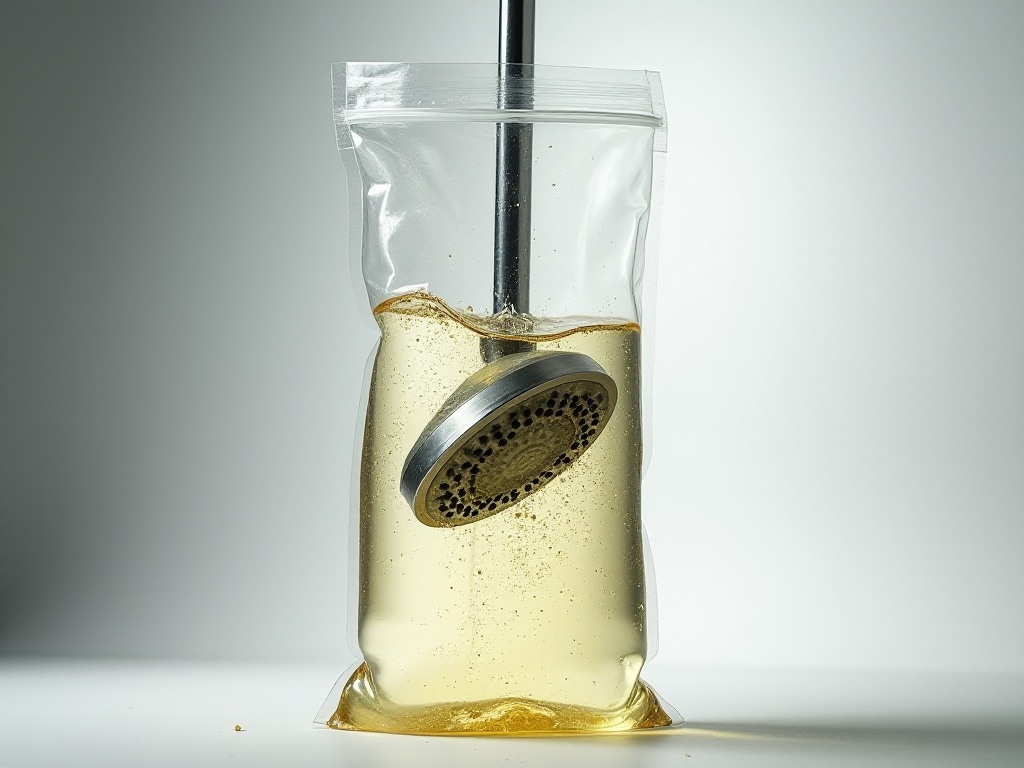
After removing the filter, we come to the crucial soaking step. I specifically bought an extra-large plastic basin so the filter could be completely submerged in the cleaning solution. Pour in enough hot water - the temperature should be moderate, as too hot will actually affect the cleaner's effectiveness.
Then comes preparing the cleaning solution. Based on my multiple experiments, the best ratio is: add 3 spoonfuls of baking soda (regular tablespoons are fine) and an appropriate amount of cleaner to the hot water. If using dish soap, about 3-4 pumps should suffice. This ratio effectively dissolves grease without damaging the filter.
Make sure the filter is completely submerged in the solution. Then comes the most patience-testing part - waiting 10 minutes. During these 10 minutes, the cleaner will gradually penetrate and soften those stubborn grease deposits. Meanwhile, you can browse your phone, watch videos, or deal with other parts of the range hood.

Key Cleaning Areas
While the filter is soaking, we can tackle the main body of the range hood. I prefer using a spray bottle for cleaning as it allows more even coverage of the cleaning solution on the range hood surface. Pour the same ratio of cleaning solution into the spray bottle and carefully spray all corners of the range hood.
Pay special attention to particularly greasy areas, like the edges at the bottom of the range hood, which often accumulate lots of grease. After spraying, wait 5 minutes to let the cleaning solution work its magic. During this time, you can prepare a clean damp cloth for later use.
After 5 minutes, you'll find that the stubborn grease has been softened by the cleaning solution. Now use the damp cloth to gently wipe, and the grease will come off easily. Note that while wiping, use some force but not too much to avoid damaging the range hood's surface. For particularly stubborn grease, you can spray multiple times and deal with it patiently.

Advanced Tips
Daily Maintenance
Through this deep cleaning experience, I've developed a very practical daily maintenance method. After each cooking session, while the range hood is still warm, wipe the surface with a paper towel dampened with a little white vinegar. White vinegar not only effectively dissolves grease but also removes odors. Initially, I worried about lingering vinegar smell, but it actually dissipates quickly.
Maintaining this habit really reduces the cleaning burden. Based on my experience over these months, a range hood that previously needed monthly deep cleaning can now go three months between cleanings. Although it takes a few extra minutes to wipe daily, compared to spending an entire afternoon battling grease, this trade-off is definitely worth it.
Labor-Saving Tricks
Recently, I discovered another particularly effortless method that might sound incredible: laying plastic wrap under the range hood! Yes, the same plastic wrap we use to package food. Lay a fresh sheet before cooking, then remove and dispose of it after use, replacing it with a new one.
This method is truly ingenious, intercepting over 80% of grease. While it might seem wasteful of plastic wrap, considering the time and energy saved in cleaning, the cost is minimal. Plus, this method effectively protects the range hood's surface and extends its lifespan.
Important Notes
When using these cleaning methods, there are some details to keep in mind. First, the choice of cleaner is important. I recommend choosing mild cleaning products - those advertised as "heavy-duty degreasers" might work quickly but could damage the range hood's coating. I learned this lesson the hard way when some parts of my range hood turned whitish after using an extra-strong cleaner.
Remember to disconnect the power during cleaning. This is crucial because range hoods are electrical appliances, and water entering the machine could cause a short circuit. I usually turn off the power half an hour in advance and let the machine cool completely before cleaning.
Be careful with wiping pressure, especially around electronic buttons. Also, ensure all parts are completely dry before reassembly to prevent bacterial growth.

Experience Sharing
Honestly, I learned a lot from this thorough cleaning experience. The most important realization is: rather than waiting until the range hood is unbearably dirty to take major action, it's better to develop good maintenance habits. Just like brushing our teeth daily, regular maintenance prevents problems from accumulating.
I've now made cleaning the range hood a habit, like my nightly skincare routine. A quick wipe after cooking, weekly checks, and immediate attention to dirty spots. This not only keeps the kitchen clean but also improves my mood.

Final Thoughts
Through this period of practice, I've deeply realized that the most important aspect of cleaning a range hood isn't having miraculous methods, but establishing correct cleaning awareness and habits. Like other aspects of life, it's better to maintain consistent attention and upkeep rather than last-minute scrambling.
It might sound exaggerated, but since mastering these cleaning techniques, I feel like I've become more positive overall. Because a clean and tidy kitchen really can bring great happiness to our lives.
By the way, how do you usually clean your range hood? How often do you clean it? Do you have any unique cleaning tricks? Welcome to share in the comments - maybe your method is better than mine. After all, life's wisdom often comes from sharing and communication. Let's work together to make our kitchens clean and healthy cooking havens!


