


Introduction
As a young professional who just moved out, seeing my messy home always gives me a headache. While I'd prefer to relax on weekends, the sight of dust everywhere forces me to clean. Each cleaning session used to consume half a day, leaving me with sore muscles and mediocre results. After years of experimentation, I've finally developed a set of cleaning tricks that make housework easier and more efficient. Today, I'll share these practical tips to help everyone easily maintain a clean and comfortable home.
Kitchen Section
The kitchen is definitely the most challenging area, with oil splatter and stubborn grease that can quickly become chaotic. Don't worry, these tips will help you easily solve these problems.
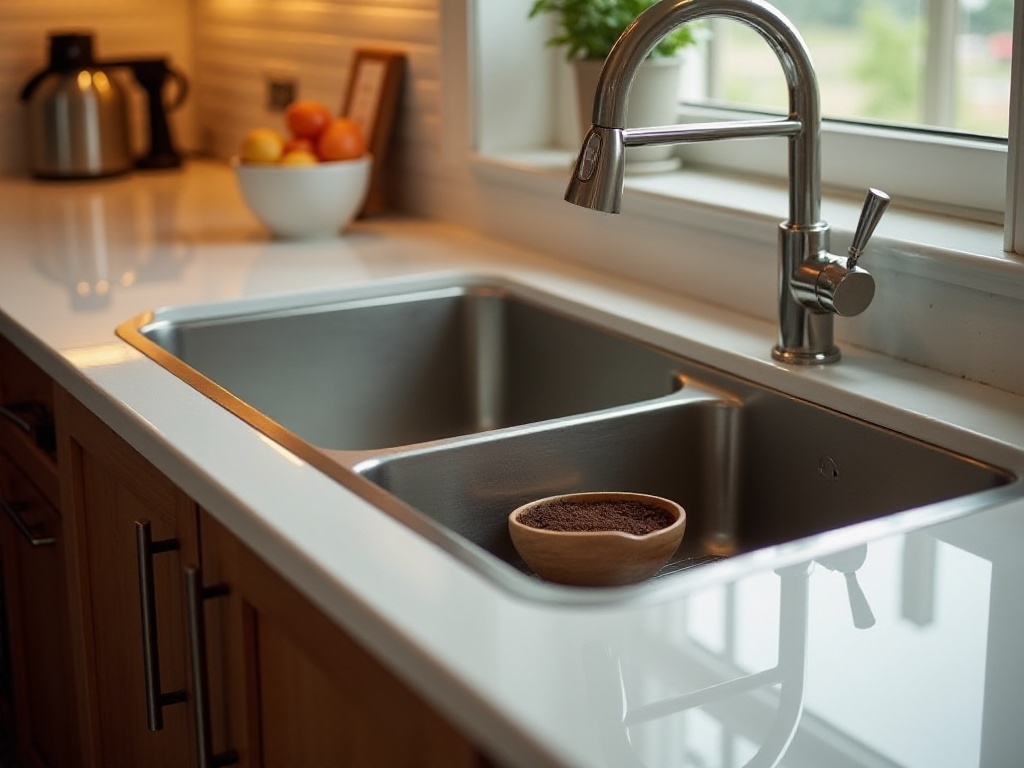
Microwave Renewal
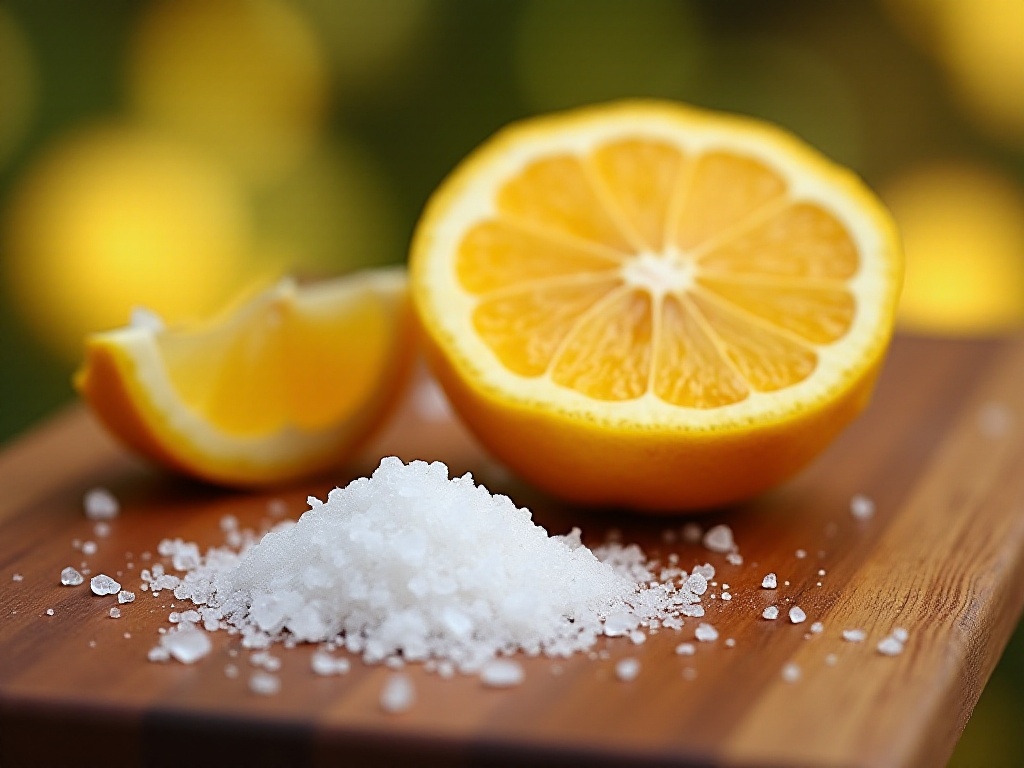
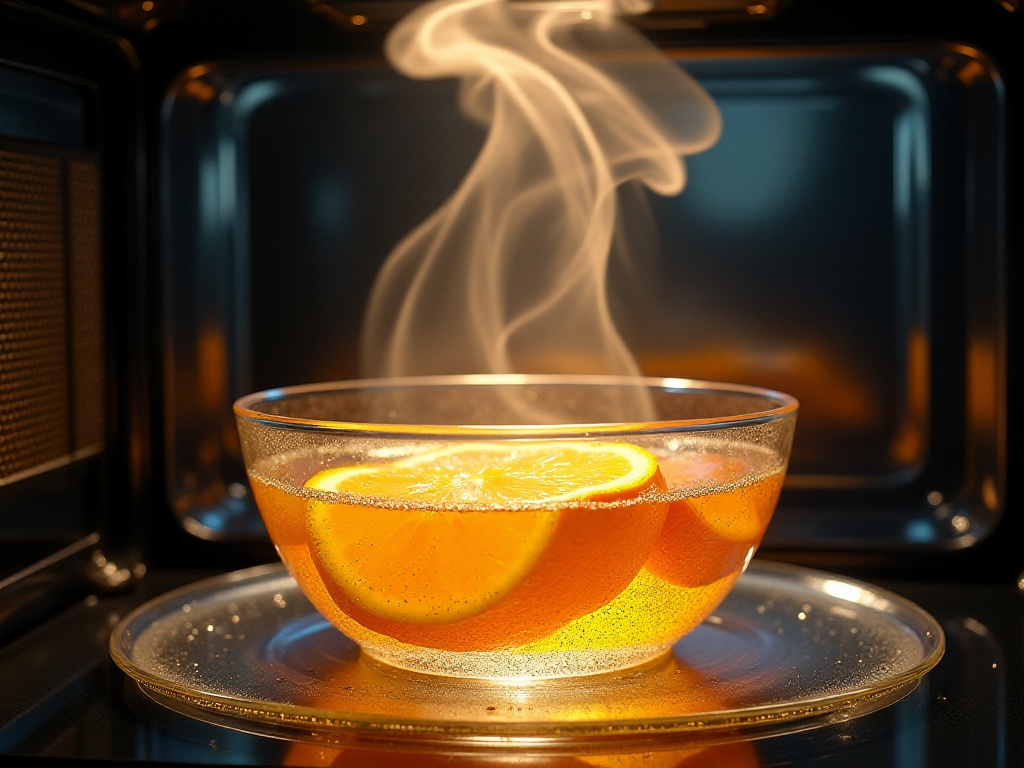
I remember when I first moved in, my second-hand microwave was greasy inside and seemed impossible to clean. One day while browsing online, I discovered a magical cleaning method: Pour warm water into a glass bowl, add 3-4 drops of fresh lemon juice or half a lemon slice, and heat it in the microwave for 3-5 minutes. After letting the steam naturally cool, open the microwave door and you'll find the stubborn grease has softened. A simple wipe with a cloth will remove the stains easily.
The natural cleaning power of lemon combined with hot steam easily tackles stubborn stains in the microwave. Plus, the fresh lemon scent deodorizes the microwave - achieving two goals at once. The first time I tried this method, I was amazed by the results. I had been planning to buy a new microwave, but this trick gave my ten-year-old appliance a second life.
If you don't have fresh lemons, white vinegar is a good alternative. The principle is the same, utilizing acidic cleaning properties. However, I recommend using lemon since vinegar has a stronger smell. After cleaning, wipe with clean water to prevent acidic residue from affecting the microwave's lifespan.

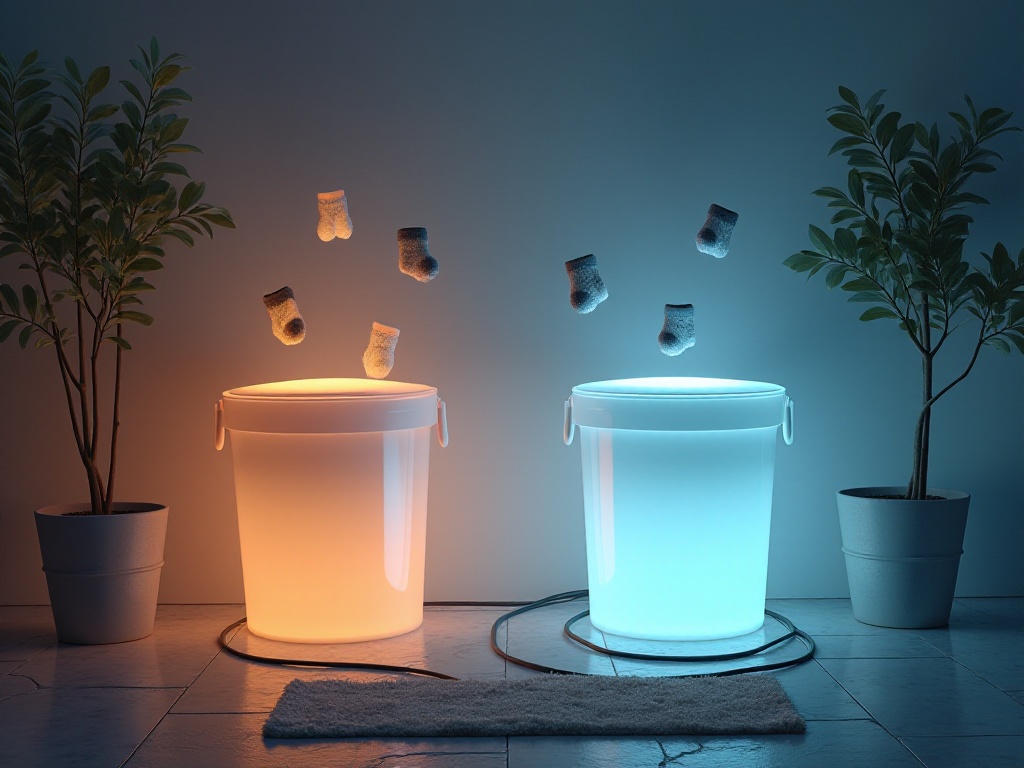
Garbage Disposal Deodorizing
Many people don't know that ice cubes are great for cleaning garbage disposals. When I first started using a disposal, its odors constantly bothered me. Then one day, a plumber shared this trick: Pour a handful of ice cubes into the disposal weekly and run it.
The principle is simple: When ice cubes are crushed, the sharp ice shards help remove grease and food residue from the disposal walls. The ice also helps sharpen the blades by removing tiny particles. Most amazingly, the cold temperature helps solidify grease in the pipes, making it easier to flush away.
I now do this cleaning weekly and never smell unpleasant odors anymore. This method is also particularly eco-friendly, requiring no chemical cleaners. For better results, you can add lemon peels or baking soda to the ice cubes for enhanced deodorizing.
Baking Pan Restoration
Do you feel frustrated seeing those burnt, blackened baking pans? Don't worry, here's a super practical restoration method. First, evenly sprinkle a layer of baking soda on the pan's surface, then pour in some hydrogen peroxide, and top with another layer of baking soda. This three-layer "sandwich" structure is key - the chemical reaction between baking soda and hydrogen peroxide effectively breaks down stubborn burnt stains.
After two hours, you'll notice those seemingly permanent black stains have softened. Gently scrub with a sponge or scrubber, and the stains will easily come off. Finally, rinse with clean water, and your baking pan will shine again. The first time I used this method, the results were truly surprising. When my mom visited, she thought I had bought new pans.
Note that while this method is effective, it shouldn't be used frequently as baking soda particles might slightly scratch the pan's surface. The best approach is to clean immediately after each use to prevent burnt-on grease. If you're concerned about scratching, try a gentler method: soak the pan overnight in warm water and dish soap before cleaning.
Living Room Section
The living room is your home's face and where we spend most of our time. Keeping it clean not only improves mood but also leaves a good impression on visitors.
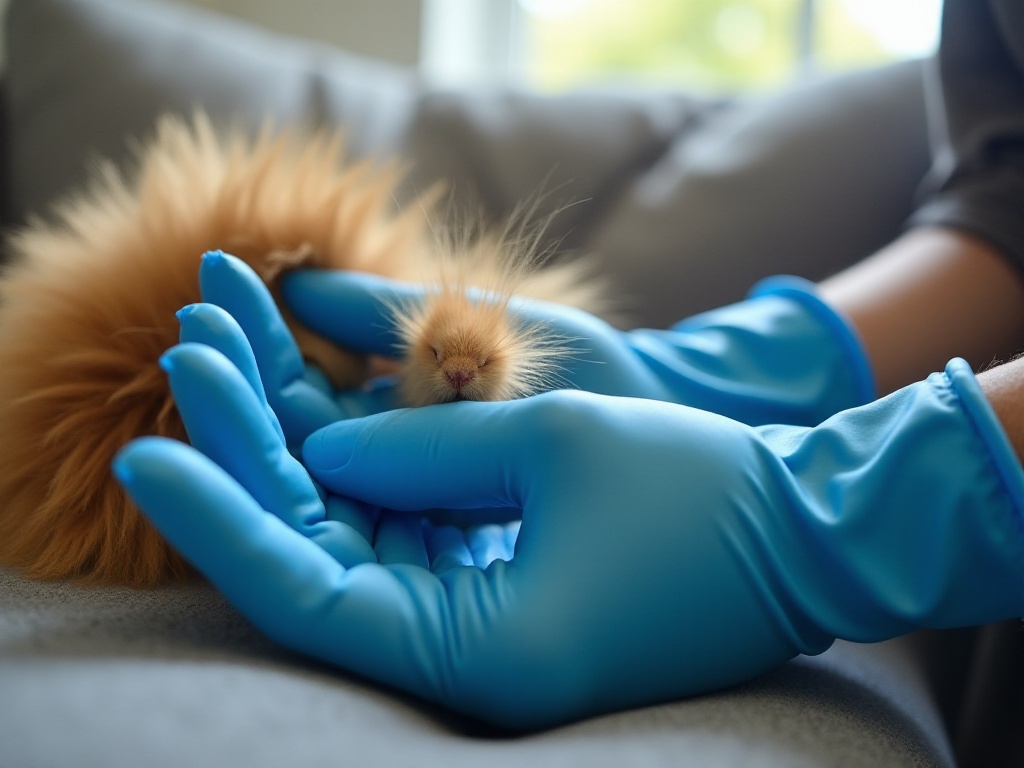
Pet Hair Removal
As someone with two cats, I deeply understand the struggle with pet hair. Waking up to fur on sofas and carpets daily, using a vacuum cleaner is time-consuming and laborious. Then I discovered an amazingly simple but effective method: Just wear regular rubber gloves, lightly spray them with water, then run your hands over the sofa and carpet surfaces, and something magical happens.
The stubborn pet hair sticks to the gloves as if by magic. This happens because damp rubber creates static electricity that attracts lightweight fur. Compared to traditional vacuum cleaners, this method is not only easier but also perfect for reaching corners vacuums can't access. After cleaning, simply rinse the gloves clean and let them dry for reuse.
I've been using this method for several years now, and it works much better than traditional vacuuming. Plus, rubber gloves are cheap and durable, making them an extremely cost-effective cleaning tool. If you have pets that shed heavily, definitely try this method.

Ceiling Fan Dusting
Ceiling fan dusting is perhaps one of the most challenging cleaning tasks for many people. Standing on a ladder is not only dangerous, but dust gets everywhere, leaving you looking like a spotted cat. But with this trick, cleaning ceiling fans becomes both safe and clean.
All you need is a clean pillowcase. Slip it over the fan blade like a bag, then slowly pull it off. Something magical happens: the dust from the blade is completely collected in the pillowcase without flying everywhere. I learned this trick from a cleaning lady with over twenty years of experience - it's truly a breakthrough in dusting.
The key to this method is to move gently, not too quickly, allowing the dust to be fully collected in the pillowcase. If the blades are particularly dirty, try spraying some static spray inside the pillowcase first to help trap dust better. After cleaning, just throw the pillowcase in the washing machine.
Special Stain Treatment
Faucet Descaling
Limescale around faucet bases is truly problematic, especially in areas with hard water. The white scale not only looks unsightly but can affect the faucet's lifespan if allowed to accumulate. But with this method, limescale will no longer be a concern.
First, prepare a clean cloth and white vinegar. Soak the cloth in vinegar and wrap it tightly around the faucet's base where scale has built up. Here's a tip: use rubber bands to secure the cloth, ensuring the vinegar continuously works on the scale. After several hours, the stubborn scale will be softened by the vinegar. Then just gently scrub with an old toothbrush, and the scale will easily come off.
This method is eco-friendly, non-toxic, and effortless. The acetic acid in vinegar effectively dissolves calcium carbonate (the main component of limescale) without damaging the faucet's surface. For particularly stubborn scale, add some baking soda to the vinegar for better cleaning results. Remember to rinse thoroughly with clean water afterward to remove any vinegar smell.
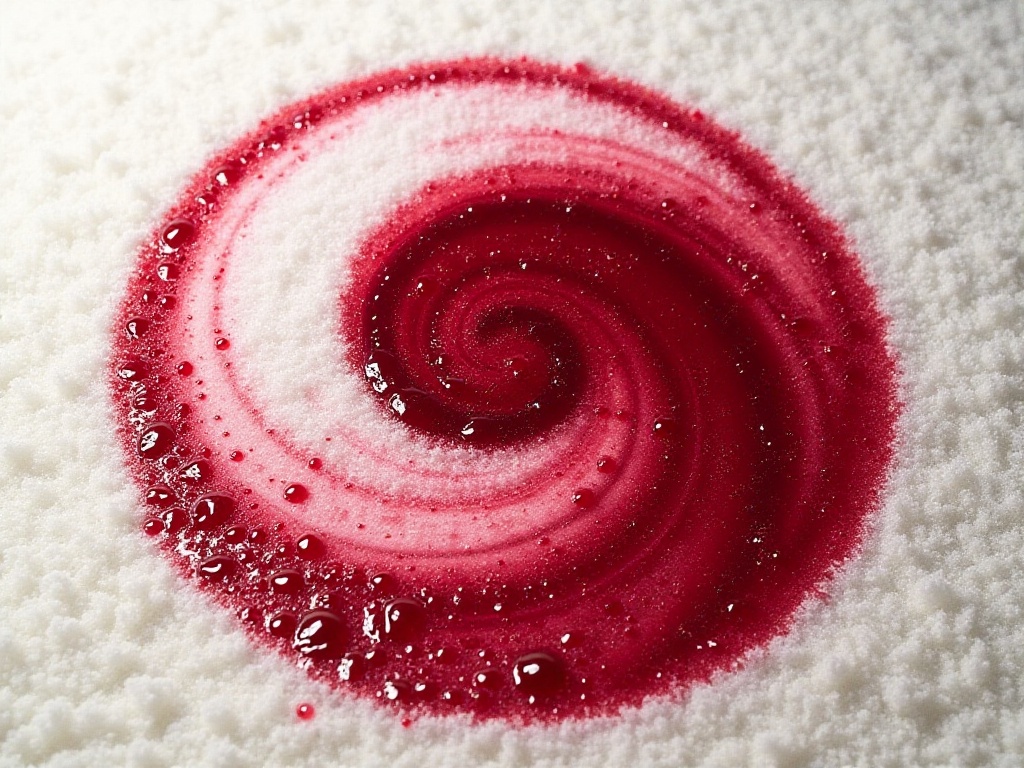
Red Wine Stain Treatment
Who hasn't accidentally spilled red wine on their carpet? In such moments, it's crucial not to panic and absolutely avoid rubbing vigorously, which only makes things worse. I successfully saved an expensive wool carpet using this method.
First, immediately use a clean white towel or paper towels to gently blot the stain, absorbing excess wine. Remember to blot, not rub - rubbing will push the wine deeper into carpet fibers. Then prepare a spray bottle with equal parts white vinegar and clean water. Spray this solution evenly on the stain and continue blotting with clean towels. You'll see the wine stain gradually transfer to the towel.
This process may need to be repeated several times until the stain disappears completely. Finally, spray with clean water and wipe clean, then dry with a fan or air dry naturally. This method works because vinegar neutralizes the wine's pigments without damaging carpet fibers like some chemical cleaners might.
Storage and Organization
Bedding Storage Method
Speaking of storage, I want to share an amazing bedding storage technique. I used to struggle finding matching sheets and pillowcases until I discovered this method: store complete bedding sets inside one of their pillowcases.
Here's how: First, neatly fold the sheets and duvet cover, then pack them along with the other pillowcase into the remaining pillowcase. This not only keeps bedding clean but also ensures you'll never lose matching pieces again. Plus, it saves storage space and keeps your closet looking neat and organized.
I now organize my bedding sets by color and material, with each pillowcase containing a complete matching set. When it's time to change bedding, just grab one pillowcase and you'll have everything you need - no more rummaging through drawers. This method is truly a storage breakthrough, highly recommended for anyone struggling with organization.
Final Thoughts
Through years of exploration and practice, I've found that housekeeping isn't particularly difficult. The key is mastering the right methods to make cleaning easy and enjoyable. Everyone might have their own unique cleaning tricks, and I welcome you to share them in the comments to help us all create clean and comfortable homes.
Finally, here's one last insight: Rather than waiting for weekend deep cleans, develop habits of doing small cleaning tasks daily. For example, wipe counters immediately after cooking, dry bathroom surfaces after use, and dispose of trash right away. This not only reduces weekend cleaning pressure but keeps your home consistently clean. After all, prevention is better than cure - maintaining cleanliness is always easier than dealing with stubborn stains.
What do you think? Try these cleaning tricks and see if they help you maintain a clean and comfortable home too!